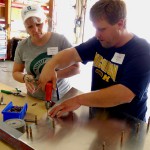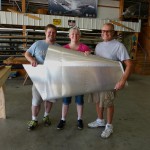
Dad came up from Tennessee to work on the plane last weekend. We did a decent amount of work even though it didn’t look like it.
- inspected the recently arrived wing kit and associated gear
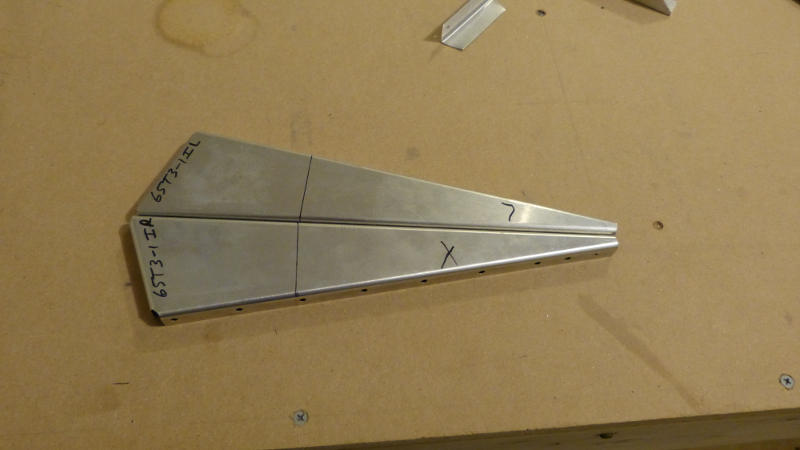
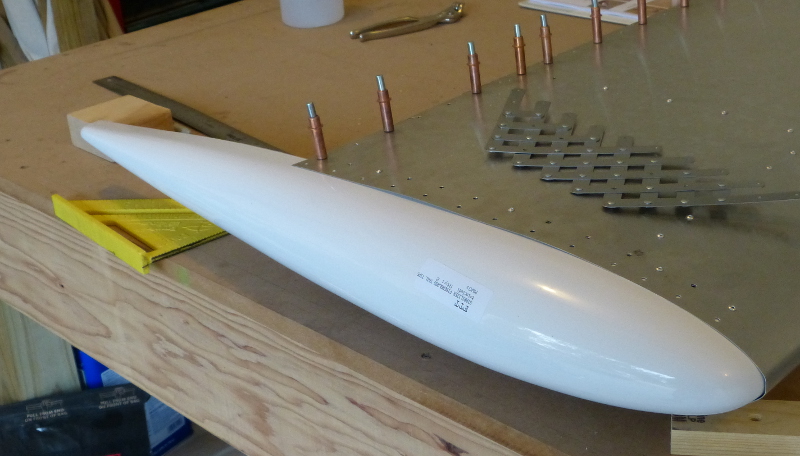
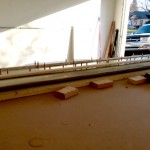
- We trimmed and cleaned up the shorter elevator rib in front of the trim tab.
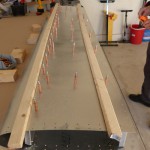
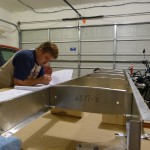
- Test fit trim actuator
- cut access for the trim actuator to connect the elevator to the trim tab.
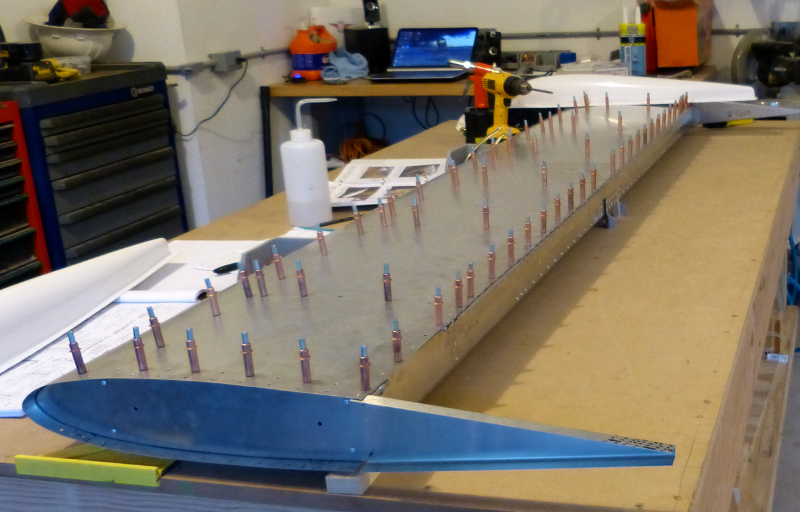
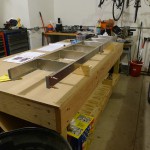
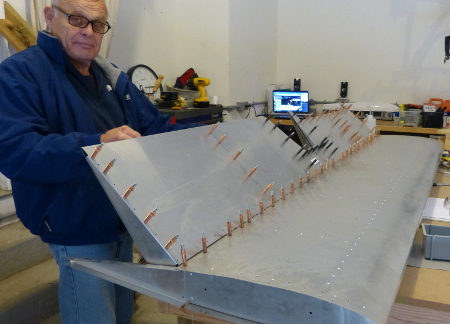
- Riveted the bottom of the elevator together leaving the center uncompleted per directions.
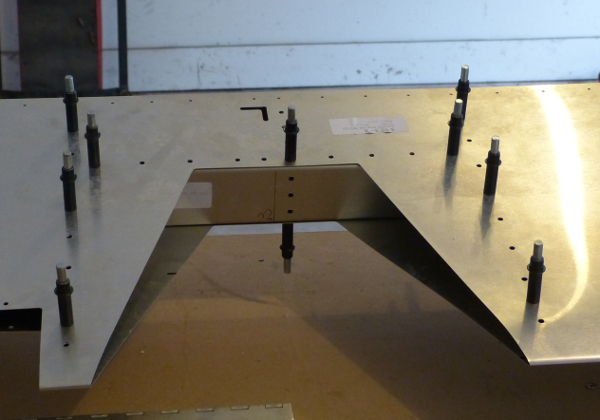
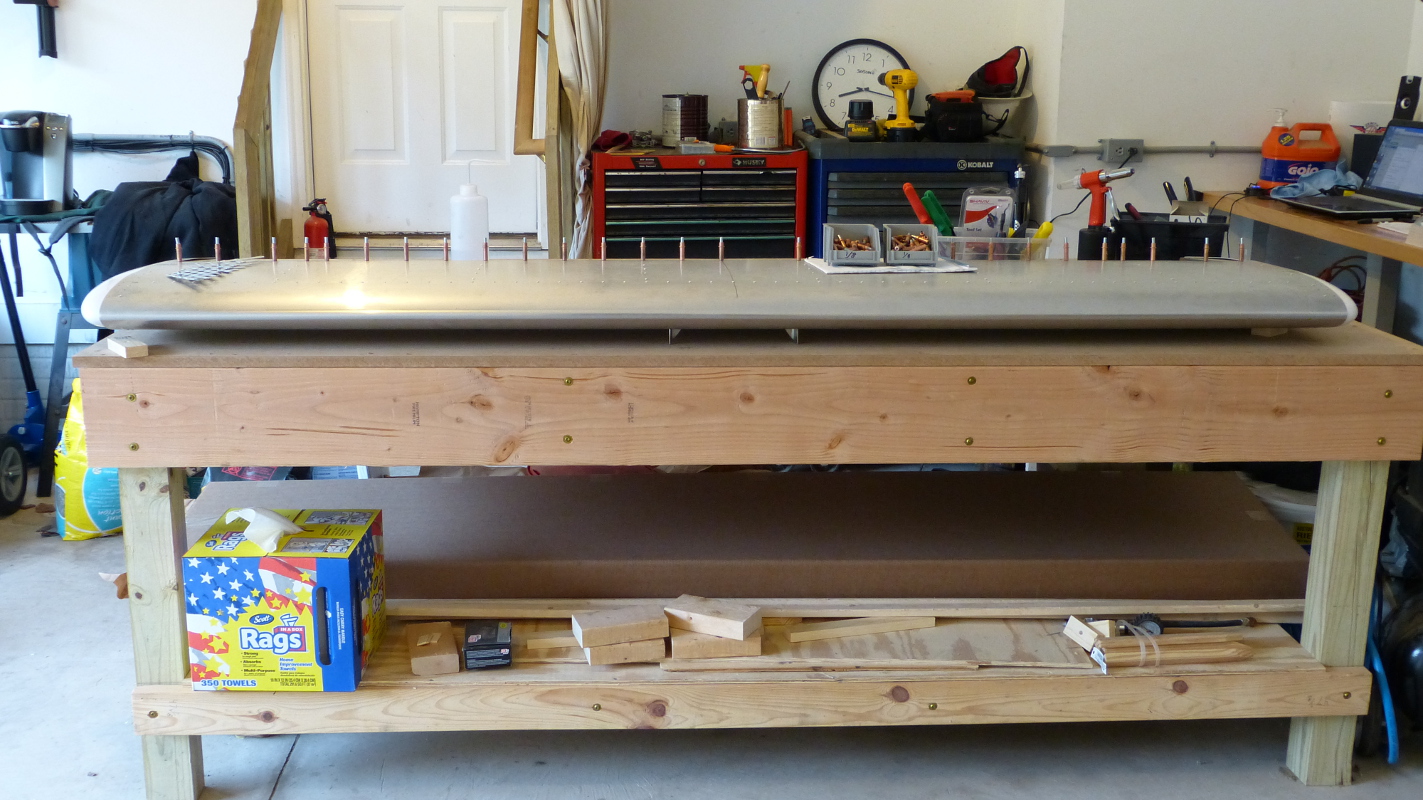
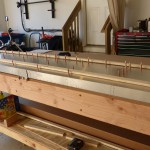
- Test fit the elevator to the horizontal stabilizer. Elevator operated smoothly.
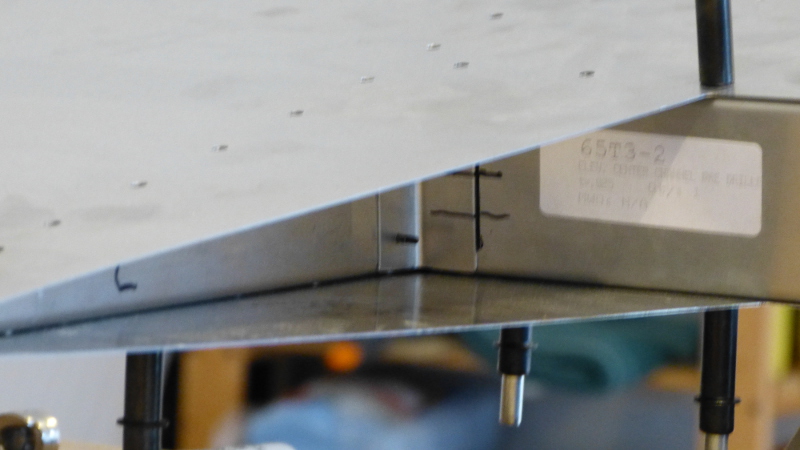
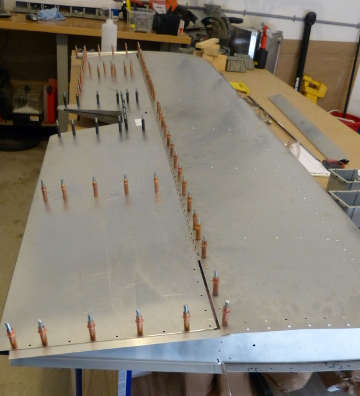
- Layed out hinge and drilled holes in the elevator to attach the elevator to the horizontal stabilizer.
- Pops deburred the newly drilled holes and is ready for the next step
Thanks for the help pops!
Here are some pictures
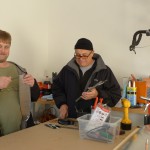
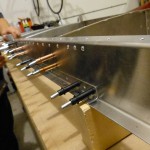
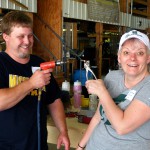
Pops showing off his his riveting skills on the bottom of the elevator
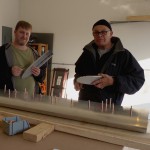
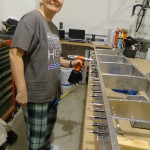
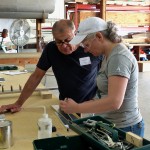
Pops demonstrating the how the elevator works.
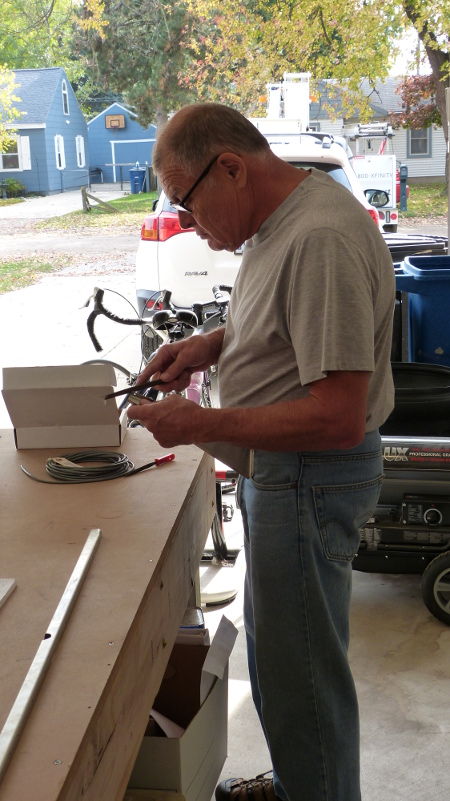
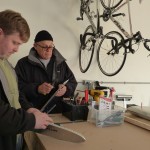
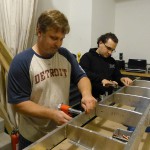
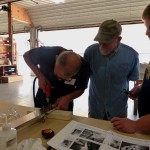
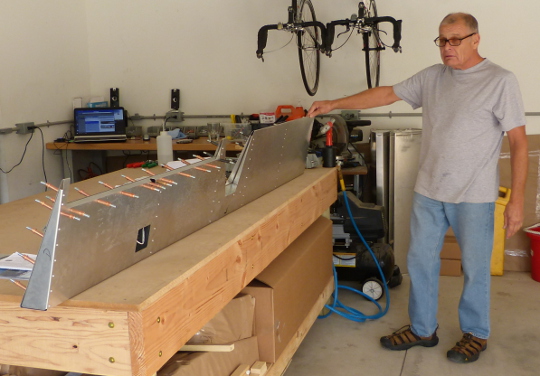
Pops deburring a rib for the elevator.
Test fit